Collecting membership fees with Cyql
With Membership fee you collect your club's membership fees in the dashboard. You create a batch with a price and a period, add members, and see per member whether they have paid.
This article explains how to create a batch, which membership fee model suits your club, and how to follow up on payments.
In this article
- What is a batch?
- Who can manage membership fees?
- Which membership fee model do you choose?
- Creating a new batch
- Viewing a batch and following up on payments
- Letting members choose their own membership
What is a batch?
A batch is a membership with its own name, price and model, for example the membership fee for the 2026 season. You add members to a batch. Per member you then see whether the fee has been paid, is still pending or has failed.
Who can manage membership fees?
Club administrators, and members who have been given the Membership fee role. Only they see Membership fee in the menu under Administration.
Which membership fee model do you choose?
A batch has one of two models. There are no other models.
Anniversary
- The membership runs from the member's entry date.
- It starts on the payment date, or on the date you choose when importing.
- Suits a club where members join throughout the year and that does not want to calculate for it.
Season
- The membership runs for a fixed period, for example from 1 January to 31 December, or for your own season.
- Members who join later in the season pay less. That reduction works per day, per month or per quarter.
- Suits a club that works with fixed seasons or periods.
Creating a new batch
Step 1
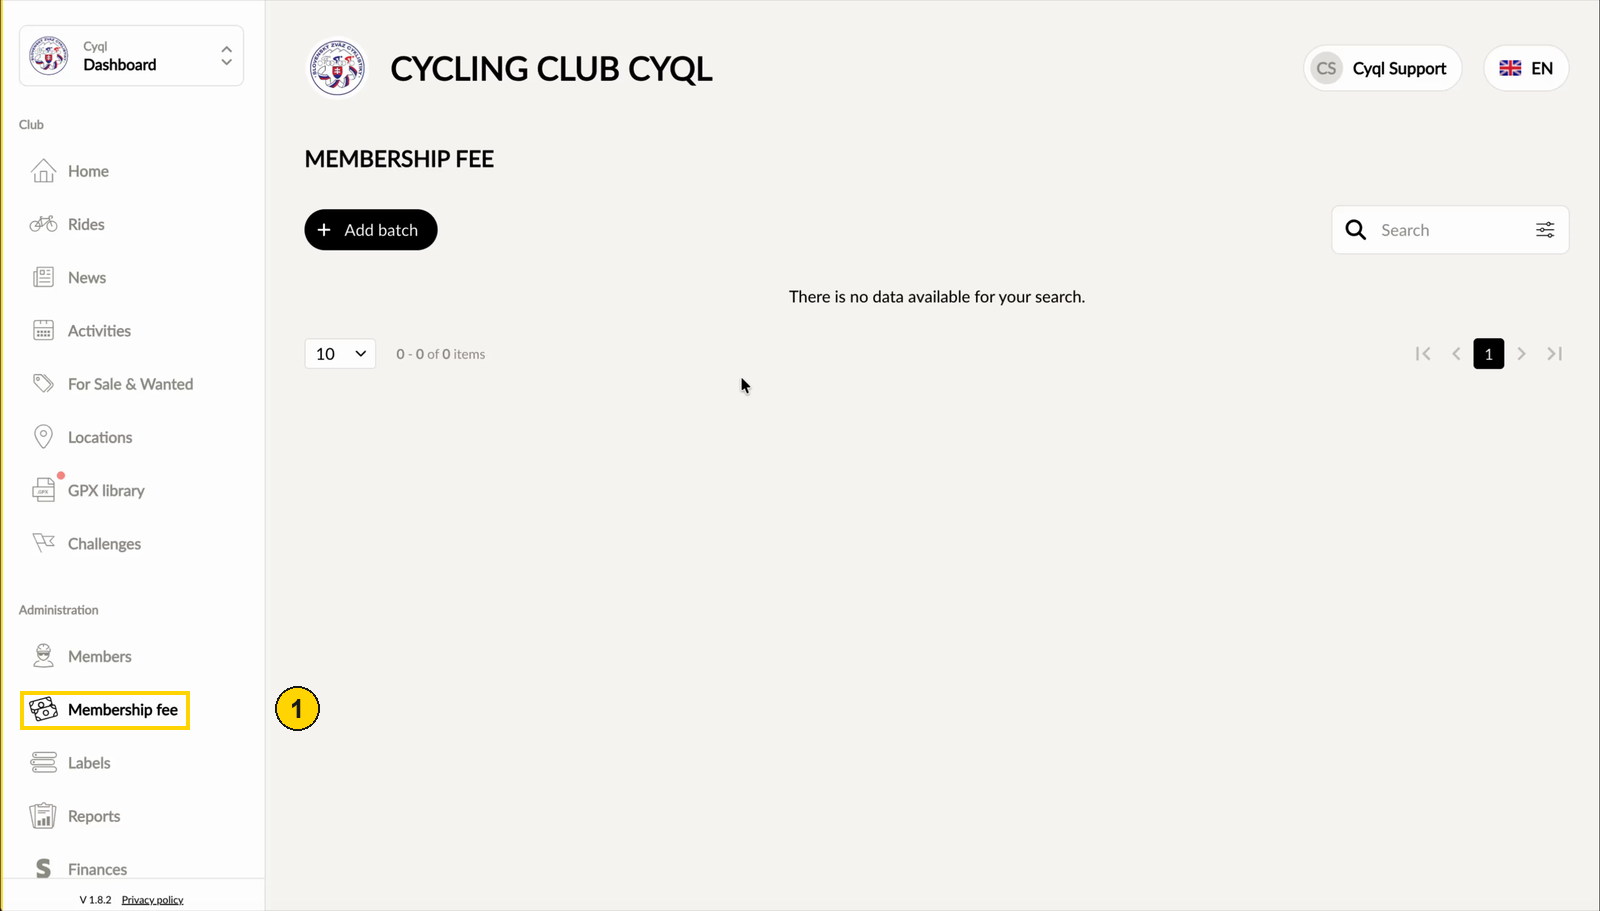
In the menu under Administration, click Membership fee. You see the overview with the batches that already exist.
Step 2
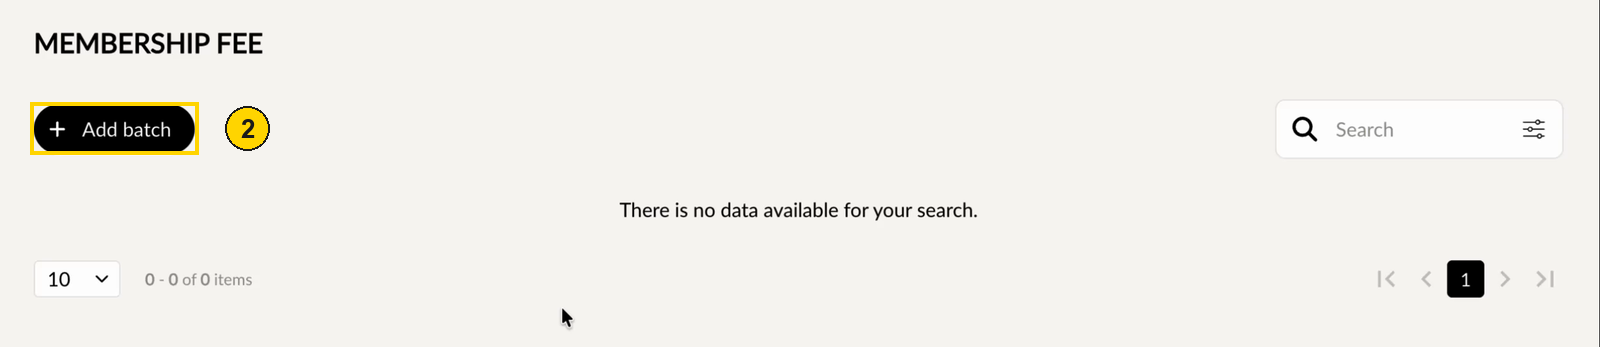
Click Add batch.
Step 3
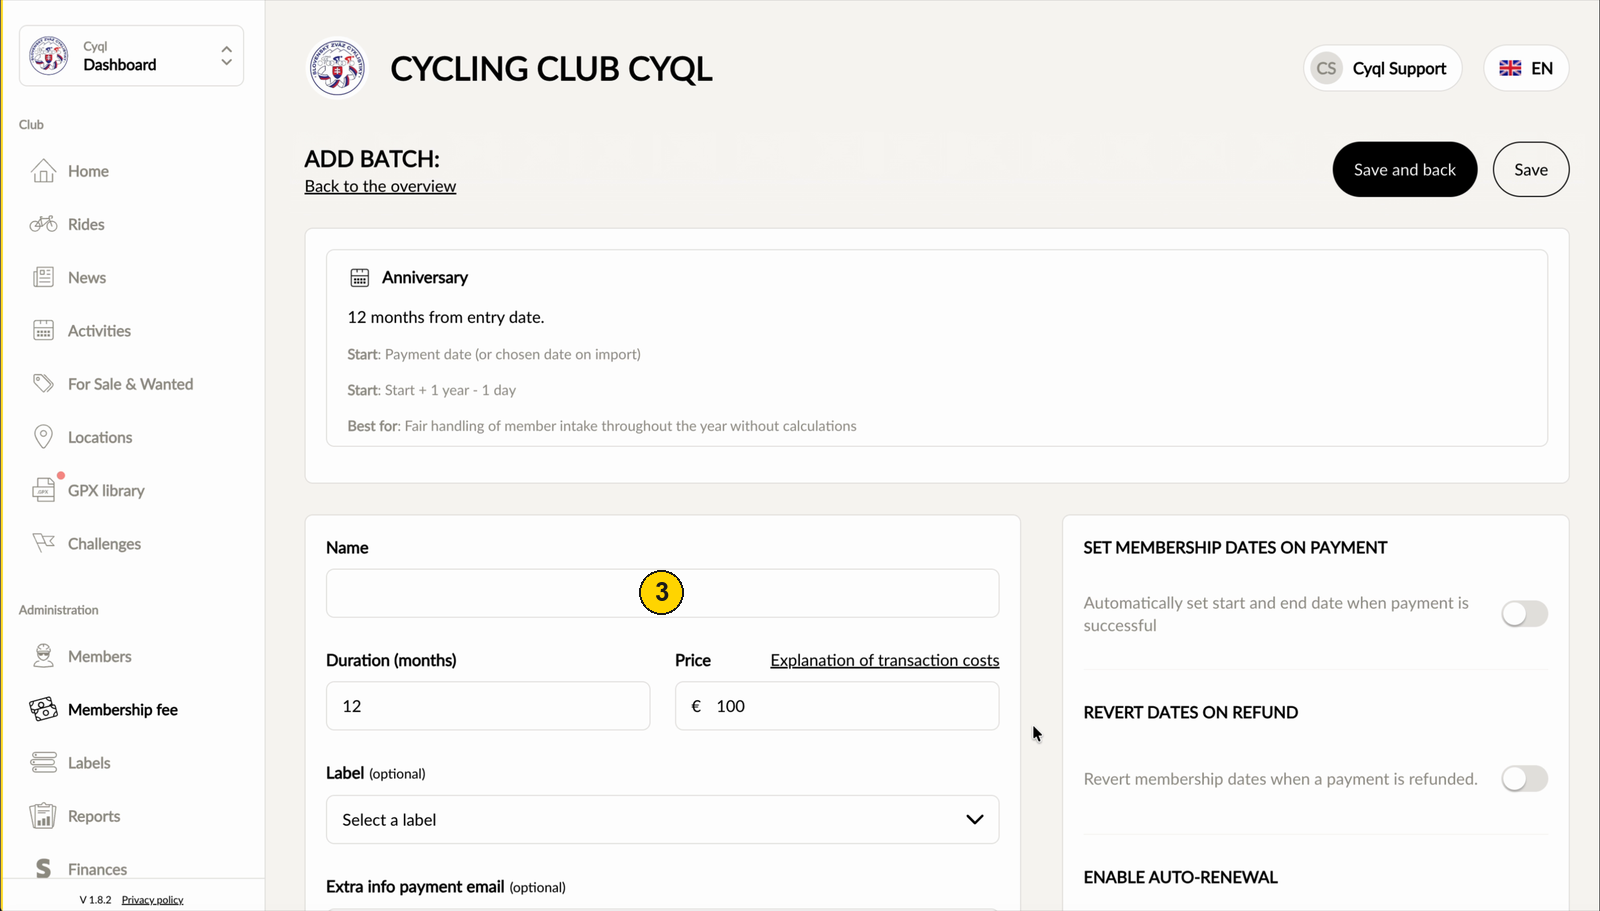
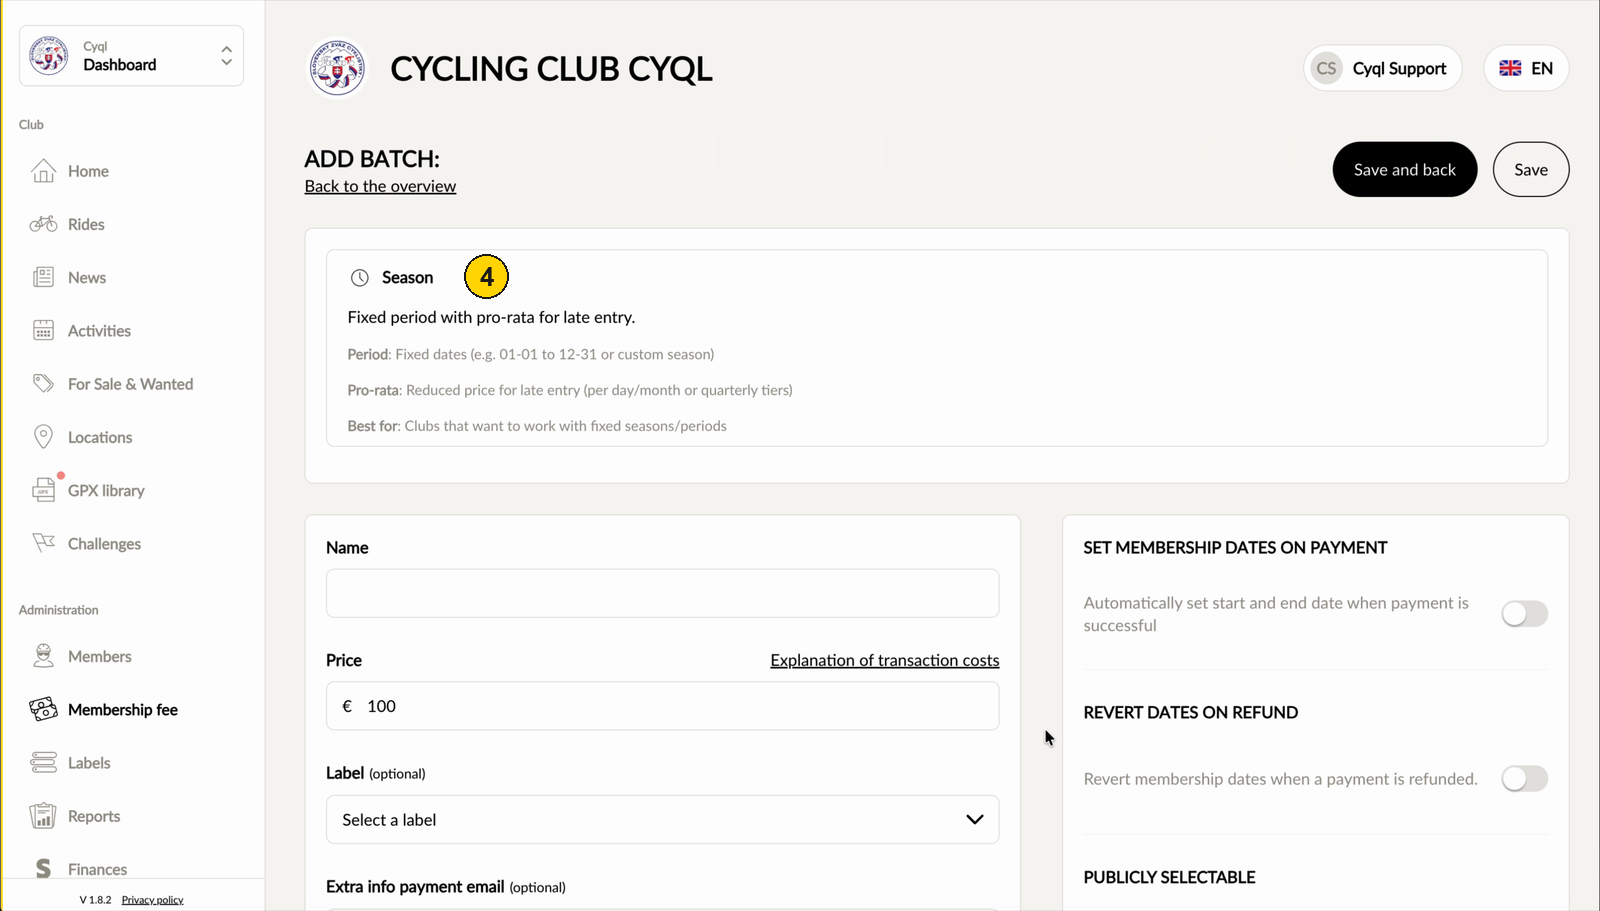
At the top you see the model of the batch. Click it to switch between Anniversary and Season.
Step 4
Fill in the details of the batch:
- Name: a name you will recognise later, for example Membership fee 2026.
- Duration (months): how long the membership runs. This field only appears for the Anniversary model.
- Price: the amount per member.
- Label and Extra info payment email: both optional.
Step 5
On the right, switch these options on or off:
- Set membership dates on payment: the start and end date are set automatically once the payment has succeeded.
- Revert dates on refund: the membership dates are reverted when a payment is refunded.
- Enable auto-renewal.
- Publicly selectable, for the Season model. What this switch does is explained under Letting members choose their own membership.
Step 6
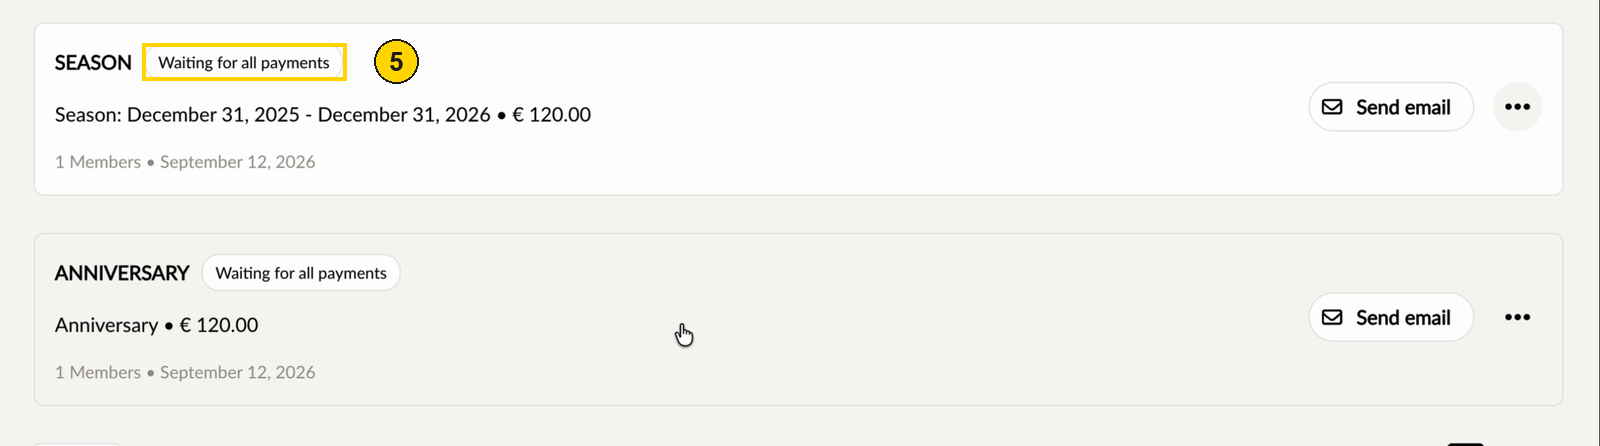
Click Save and back in the top right. The batch now appears in the overview. As long as not everyone has paid, the status is Waiting for all payments.
Viewing a batch and following up on payments
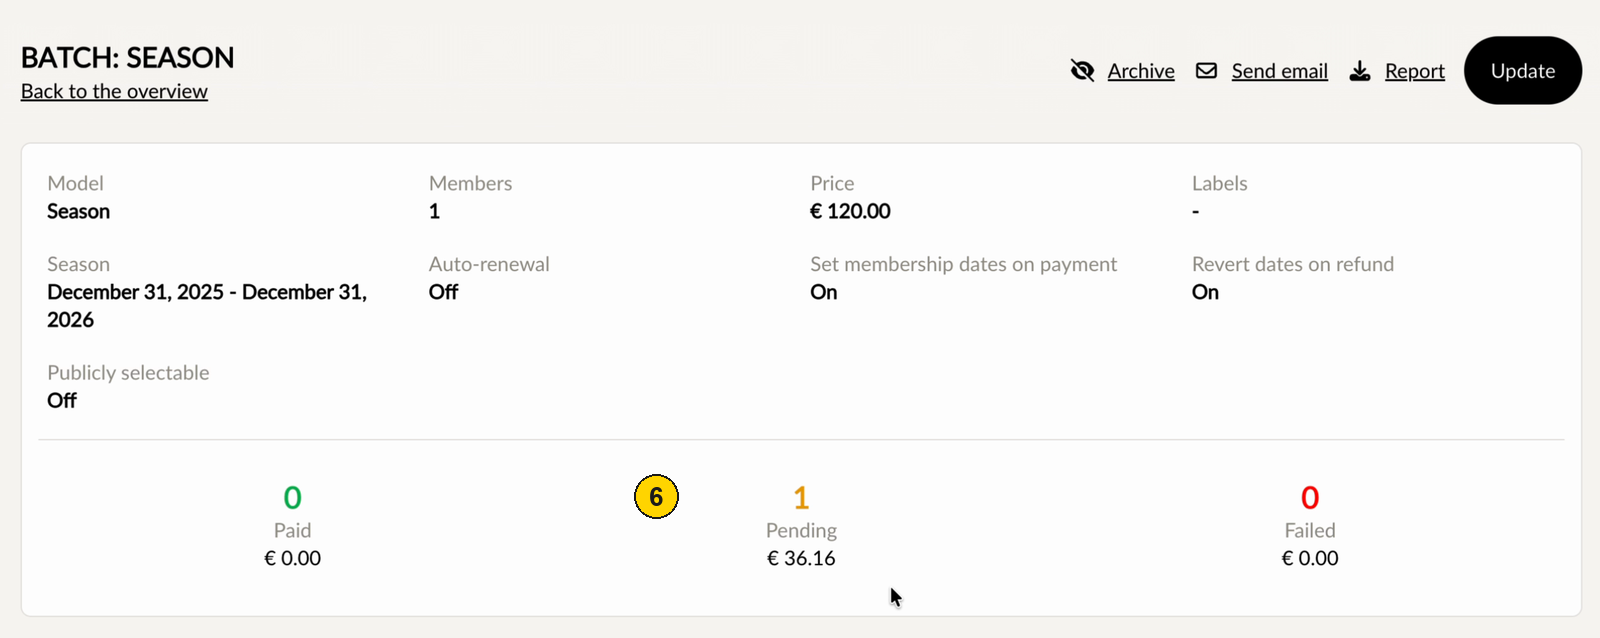
Click a batch in the overview to open it.
- At the top you see the model, the number of members, the price and the choices you made when creating it.
- Below that you see per status how many members and which amount: Paid, Pending and Failed.
- In the top right you find Archive, Send email, Report and Update.
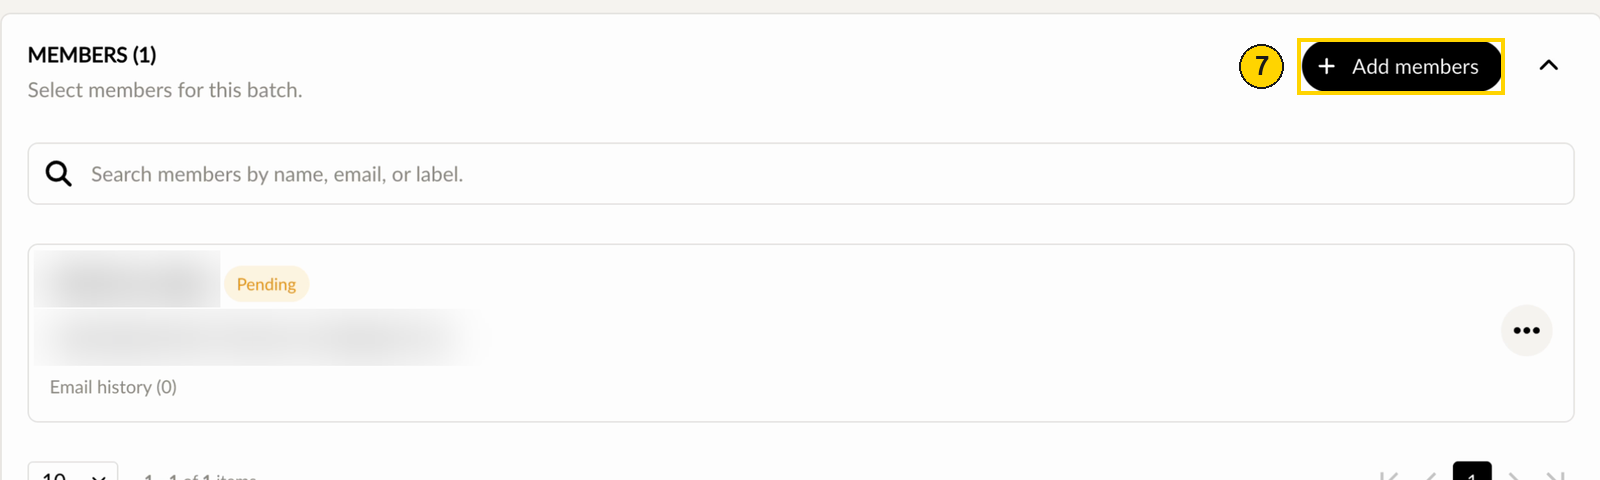
Under Members every member in the batch is listed with their own status. Use Add members to add members to the batch, and the search field to search by name, email address or label.
Letting members choose their own membership
When this is on, members choose their own membership. When it is off, the administrator assigns the membership.
Step 1
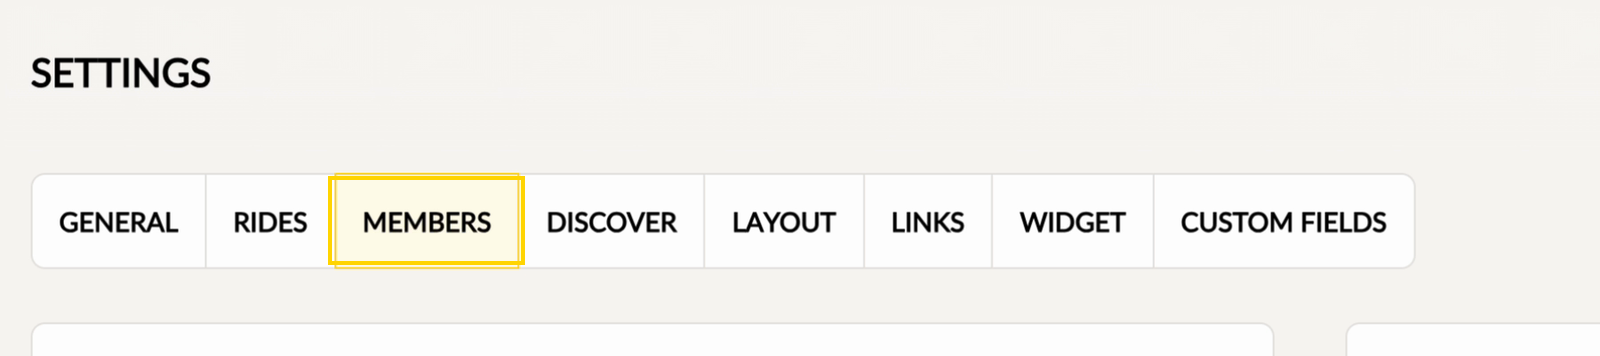
In the menu under Settings, click Settings and open the Members tab. Switch on Allow Member Batch Selection there.
Step 2
When you create a batch with the Season model, switch on Publicly selectable, as in step 5 of Creating a new batch. You can only switch it on when the setting from step 1 is on.
Was this article helpful?
That’s Great!
Thank you for your feedback
Sorry! We couldn't be helpful
Thank you for your feedback
Feedback sent
We appreciate your effort and will try to fix the article